Animation Project
This is the aggregation of three animation projects over the course of a semester, since each project built on the previous there is only one executable. The two major portions are animation over a path and inverse kinematics (using CCD). I had written 3 importers but only .ms3d (Milkshape 3D) files are fully supported (I have included one).
Cs460 Animation Project Download
Features:
- Skinned and articulated models (using quaternions for bone orientation).
- Keyframed animation (directly from the Milkshape 3D file, it matches the Milkshape output in all of my tests).
- Variable animation speed (when following a path the model will accelerate and decelerate along with its animation).
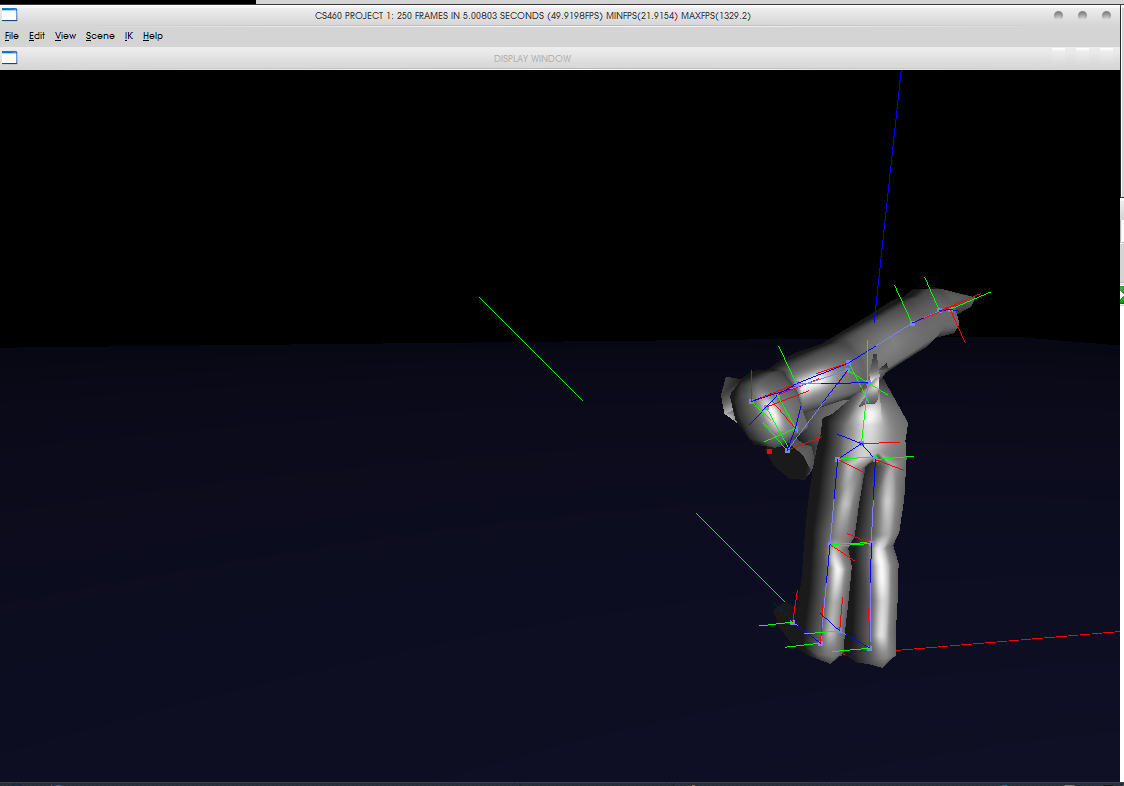
- Inverse Kinematics using Cyclic Coordinate Descent (without bone priorities).
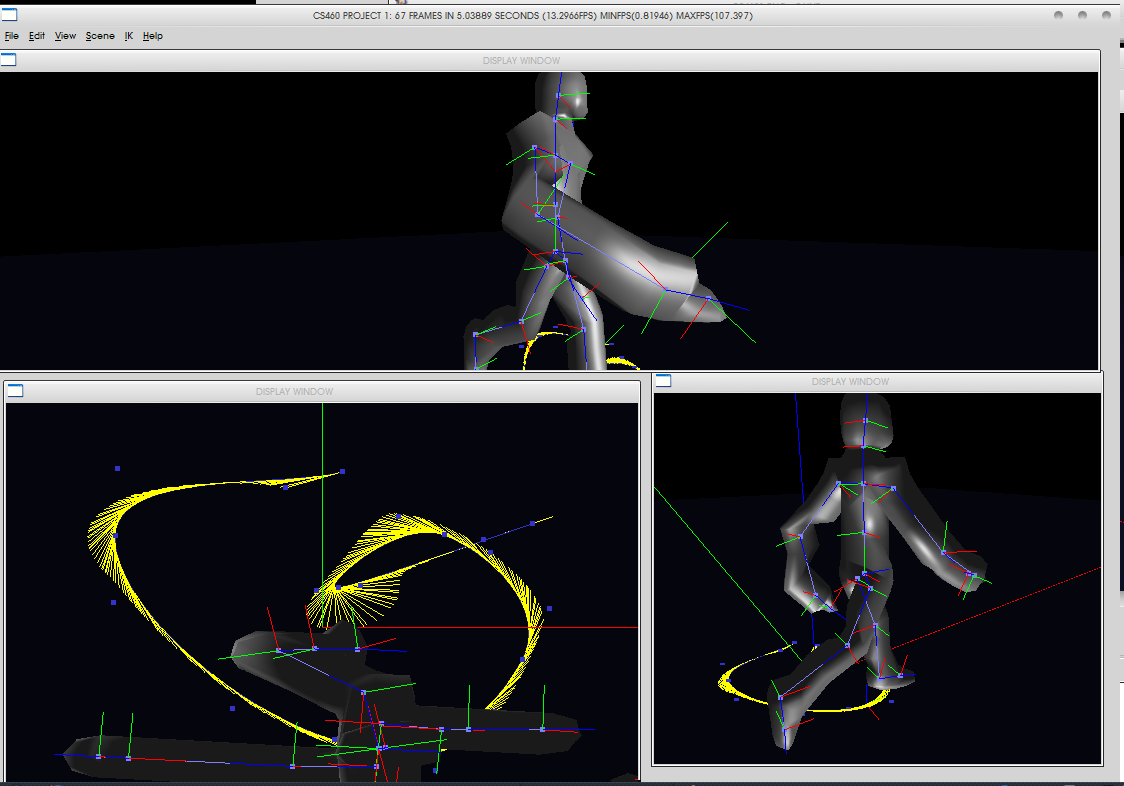
- Support for drawing bezier paths with adaptive subdivision.
What you see:
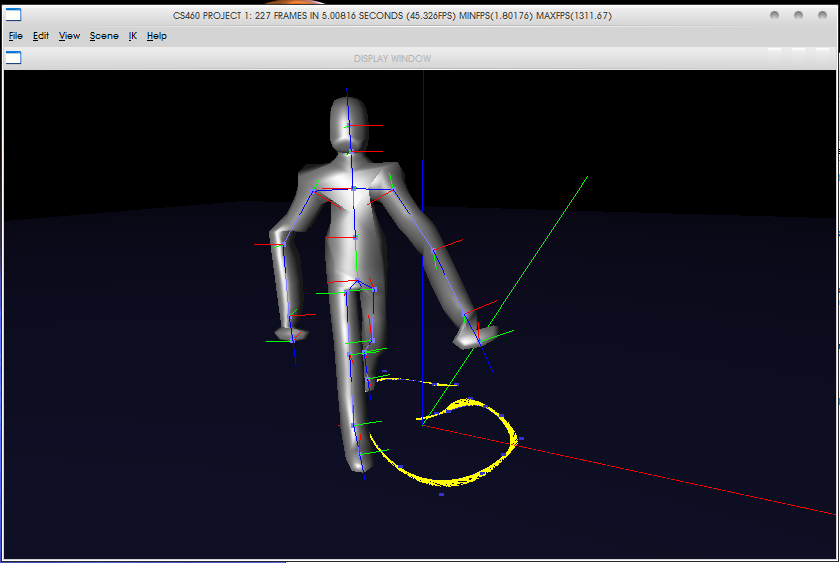
- Bones are drawn in light blue.
- Basis vectors are drawn for the world, model, and each bone with red indicating the x-axis (to the right), green indicating the y-axis (into the screen), and blue indicating the z-axis (up).
- Squares (GLPoints) are drawn in light blue at the base of each bone.
- If you draw a path the path will be dark blue, the tangent points to the path will be yellow, and the control points will be blue squares (GLPoints).
Viewer Controls:
- w,a,s, and d to move the camera in the x,y plane (remember, z is up)
- space and c move the camera up and down respectively
- Left click + drag rotates the camera
- Left click places a path node (Path window only)
- Right click starts a new path (Path window only)
- arrow keys move the IK target in the x,y plane (if available)
How to load a model:
- Click on File->Import .MS3D
- Select person.ms3d (or provide your own).
How to create a pathed animation:
- Start the application (a fresh restart guarantees successful operation).
- Load a model (only .MS3D models will animate).
- You may close or minimize the Display Window, children OpenGL windows don’t overlap well.
- Select View->Open Path Window
- You may scroll around using w,a,s, and d
- Left click places a new node on the path
- Select Edit->Bind to Path (binds the last loaded model to the last created path)
How to create an Inverse Kinematics animation (this portion of the project was subjected to significant time restraints, bone priority and angular constraints were not included but the end effector will reach the target):
- Start the application (a fresh restart guarantees successful operation)
- Load a .MS3D model
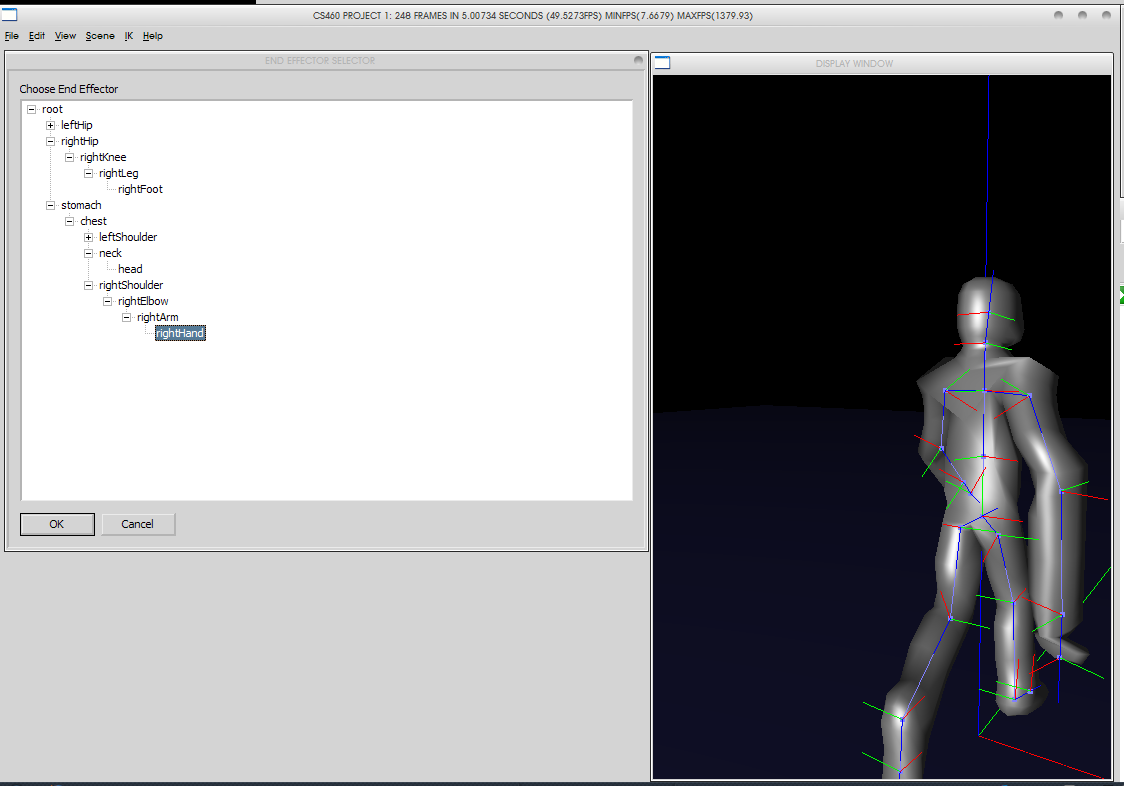
- Select IK->Add IK Controller
- A window will pop up, asking for an end effector (if you do not see it move or minimize the OpenGL window)
- Choose an end effector (the bone structure will be shown as a tree, expand down to the bone you want)
- Select the bone and press OK
- A red dot will appear, move it around with the arrow keys (if the dot is too far away the model will walk over – this is very slow).
- Select IK->Generate IK Animation